The first time you notice your eyebrows thinning it feels significant. You spot it in the bathroom mirror under harsh morning light or in a photograph where your eyes seem less striking. The outer edges appear sparse & the arch disappears from certain angles. No pencil truly fixes it. That moment makes you consider getting a professional brow lamination like everyone else does. But then you imagine booking the appointment and paying the fee and making the drive and inhaling those chemical fumes. You close the browser and wash your face & decide there must be a better option.
The Art of Gently Shaping Your Brows at Home
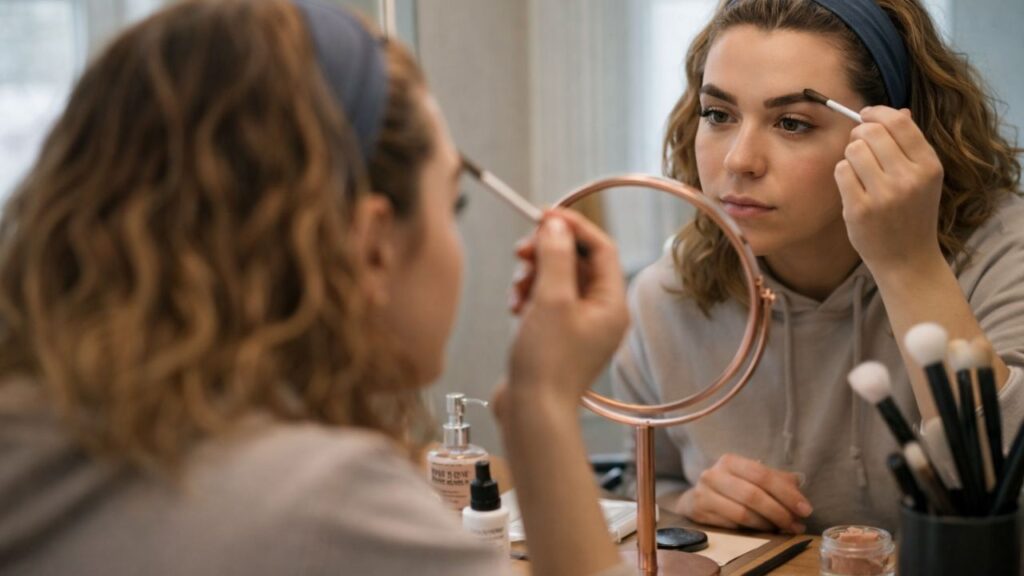
There is a quiet sense of ease that comes from settling in at your bathroom counter during a calm evening. With soft music playing and the room at rest, you begin to notice how a little patience can noticeably enhance your brows. There are no harsh salon lights or forced conversations—just you, a mirror, and a small brush. At-home brow lamination may sound complex, but it is actually a simple, soothing routine. You guide your natural brow hairs into a more flattering direction so they appear fuller and better defined. You are not drawing or creating anything new, only refining what already exists. Although words like solutions, activators, and neutralizers may sound technical, the process itself is gentle: soften, shape, set, and nourish. Once learned, it becomes a relaxing ritual you can return to every few weeks.
 Remove Scratches From Glass Cooktops at Home Using Smart Techniques That Avoid Replacement
Preparing Your Space: A Calm Pre-Lamination Ritual
Before starting, take a moment to set up your space. Clear a small area on your counter and wipe away any water marks or clutter. Place your tools in the order you will use them. This small act of preparation helps create a sense of control and calm before you begin.
Most at-home brow lamination routines rely on just a handful of basic tools. Some people choose ready-made kits, while others prefer gentler alternatives suitable for the delicate eye area. No matter which option you choose, always use minimal product and select the mildest formulas available. Standing in front of the mirror with everything prepared, the process feels less like a beauty treatment and more like a personal moment of self-care.
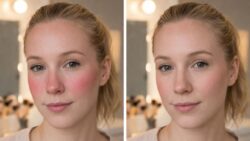 Facial Balance Tip: Why Incorrect Blush Placement Near the Nose Disrupts Overall Face Harmony
| Product Purpose | What It Does | Recommended Usage Tips |
|---|---|---|
| Gentle Facial Cleanser | Removes dirt, excess oil, and makeup without irritation | Opt for a soap-free and fragrance-free cleanser, especially for sensitive or delicate skin types |
| Brow Spoolie Brush | Helps shape, lift, and evenly distribute brow hairs | A clean mascara wand works well as an affordable and effective alternative |
| Brow Lamination Solution | Softens brow hairs, making them easier to reshape and set | Always perform a patch test at least 24 hours prior to application to avoid reactions |
| Setting or Fixing Solution | Secures brows in place after styling | Use a light, even layer to prevent stiffness or drooping |
| Nourishing Oil or Serum | Hydrates and strengthens brow hairs and surrounding skin | Apply castor oil or a lightweight serum nightly for long-lasting nourishment |
Moving Slowly: Enjoying the Brow Transformation
Your first at-home brow lamination should never feel rushed. Move slowly and notice each sensation—the cool touch of water, the light pressure of the spoolie as it passes through your brows. This experience is not only about the final look, but also about creating a few peaceful minutes in your day.
Begin With Clean Brows
Brow hairs often hold onto sunscreen, makeup, oils, and moisturizers. Start by cleansing the area with a gentle, fragrance-free cleanser. Rinse with lukewarm water and pat dry using a soft towel. A cotton pad can help ensure no residue remains. Clean brows allow each hair to lift and move independently, making shaping much easier.
Understand Your Natural Brow Pattern
Before applying any product, take time to observe your brows. Using a clean spoolie, brush the hairs upward and watch how they naturally fall. Some hairs will lift easily, while others may grow sideways or lie flat. Notice any thinner spots or uneven arches. This awareness allows you to work with your natural growth, creating a result that feels effortless and balanced.
Gently Softening the Brow Hairs
Using a micro brush or cotton swab, apply a small amount of your lifting or lamination solution directly to the brow hairs, avoiding the skin. This step softens the hair structure, making it easier to reshape. Comb through with a spoolie, brushing upward and slightly outward. Let the product sit only for the recommended time, usually a few minutes. For finer brows, always choose the shorter timing to prevent over-processing.
 At-Home Eyebrow Tinting Made Simple With an Easy Step-by-Step Process for Soft Defined Brows
Shaping With a Light Hand
Once the hairs are softened, take a clean spoolie and guide them into place. Brush the inner brows upward to create a fuller appearance, then angle the arch and tail gently toward the temples. Each stroke should help frame your face naturally. Perfect symmetry is not the goal—brows are meant to complement each other, not match exactly. Focus on enhancing your own shape rather than following a trend.
Locking the Shape in Place
After removing the lifting solution as directed, apply a small amount of setting or neutralizing product to secure the hairs in their new position. Comb through once more and lightly press any stubborn hairs into place for a few seconds. Once the setting time is complete, remove excess product. Your brows will look fuller, more lifted, and defined, while still appearing natural.
The First Days After Lamination: Letting Brows Settle
Freshly laminated brows can feel unfamiliar at first, much like a new haircut. Give yourself a day or two to adjust. For the first 24 hours, avoid water, steam, saunas, and heavy creams around the brow area. As natural oils return, the hairs will soften and relax. By the second or third day, your brows will feel more comfortable, and a quick brush with a clean spoolie is usually enough to keep them neat.
Nourishing Brows for Ongoing Health
Think of your brows as something that benefits from regular care. After cleansing your face each evening, apply a small amount of nourishing oil or brow serum. Castor oil or a lightweight serum works well. Gently massage it in the direction of hair growth to condition the hairs and support healthy follicles. Avoid excessive tweezing—only remove stray hairs and allow the rest to grow for a fuller look.
Creating a Brow Routine That Fits You
With time, you will naturally develop a brow routine that suits your needs. Some people laminate every six to eight weeks as part of their self-care schedule, while others rely on gentler methods paired with regular brushing and oil application. Pay attention to how your brows respond. When they begin to lose shape or fall flat, it may be time to repeat the process and restore their polished appearance.